Trending

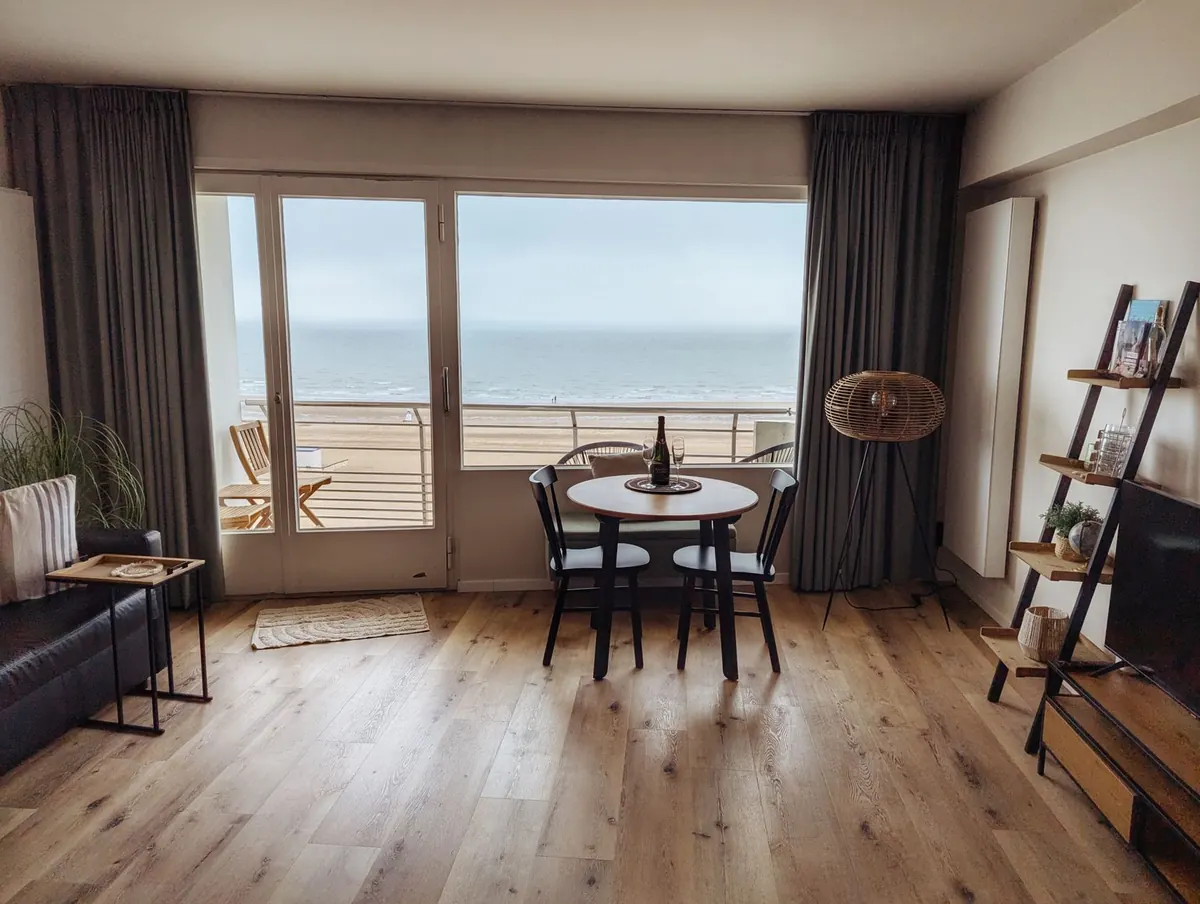
You cannot paint the walls, you cannot put a single screw in them, and the ceiling pendant is exactly where the last tenant left it. That is the hand you are dealt in a rental living room — and it is a better hand than it looks.
Most of what makes a room feel finished is not fixed to the wall at all. It is the light, the rug, the arrangement of the seating, and whether anything in the room sits at eye level. Work through the seven steps below in order and a tired, magnolia rental can go from “we have just moved in” to properly settled in an afternoon or two — and most of it will pack up again when you leave.
Before you buy a single cushion, stand in the doorway and note the fixed points: socket positions, the radiator, the window, the shape of the ceiling light, and where the daylight falls through the day. None of it is negotiable, so everything else has to work around it.
Sketch the room and mark the width of the main wall, then the depth of your sofa and any furniture you are keeping. Ten boring minutes saves a lot of returns. In a long, narrow room, resist pushing everything against one wall; pulling the sofa slightly off the wall or floating it on a rug makes the space read wider. In a small room, fewer large pieces will always beat lots of small ones.
Removable hooks and strips will hold more than most renters expect, but only if the surface is prepared properly. Nearly every failure comes down to dust, texture or impatience.
Skip adhesive on wallpaper, lime plaster, textured paint, or anywhere directly above a radiator, where heat softens the glue. Freshly painted walls need time to cure first. If a wall is uneven or crumbly, a freestanding solution will be more reliable than a hook.
Removal matters as much as installation. Pull the tab slowly and straight down against the wall rather than outwards; rushing it is what takes paint with it. Keep the packaging and spare strips together in a drawer — you will want them on moving day.
A ladder shelf, a low cube unit or a slim bookcase does the job a built-in would in a home you own. Place one against a blank wall to give the eye somewhere to land, or use a low unit to separate the seating from a desk or dining corner without blocking light.
Think about height and weight when you choose. Tall, narrow units tip easily, so if you have small children or a cat who climbs, pick something low and wide instead. If you do want a tall bookcase, it is worth asking the landlord about fitting a wall anchor — a short conversation is cheaper than a replacement television.
Style the shelves in layers rather than rows: a few books stacked, a few standing, a small lamp, one or two plants, and a basket or two to swallow cables and remote controls. Grouping objects in odd numbers, and lifting a small piece on a stack of books, stops shelving looking like storage.
Rental living rooms almost always rely on one ceiling light in the centre of the room, which flattens everything and leaves the corners dull. Adding two or three other sources at different heights will do more for the room than any cushion.
Avoid cold, bright white bulbs. Put anything switched on at the wall onto a smart plug so one button lights the whole room. Then stand in the doorway at dusk: if a corner is still dark, that is where the next lamp goes.
Nothing changes a rental floor faster than a rug. Go bigger than feels necessary — a rug that is too small makes a room look mean, while one that sits under the front feet of the sofa and reaches most of the way to the opposite wall pulls the seating together. If the carpet underneath is worn or a colour you would never have picked, a large flatweave over the top covers a surprising amount of it.
Curtains are the other big win. Many windows will take a tension rod fitted inside the recess, which needs no fixings at all. Where that will not work, a freestanding pole or adhesive brackets rated for the weight will do it. Hang curtains as high and as wide as the space allows, and let them reach the floor; it makes a standard window look considerably more generous.
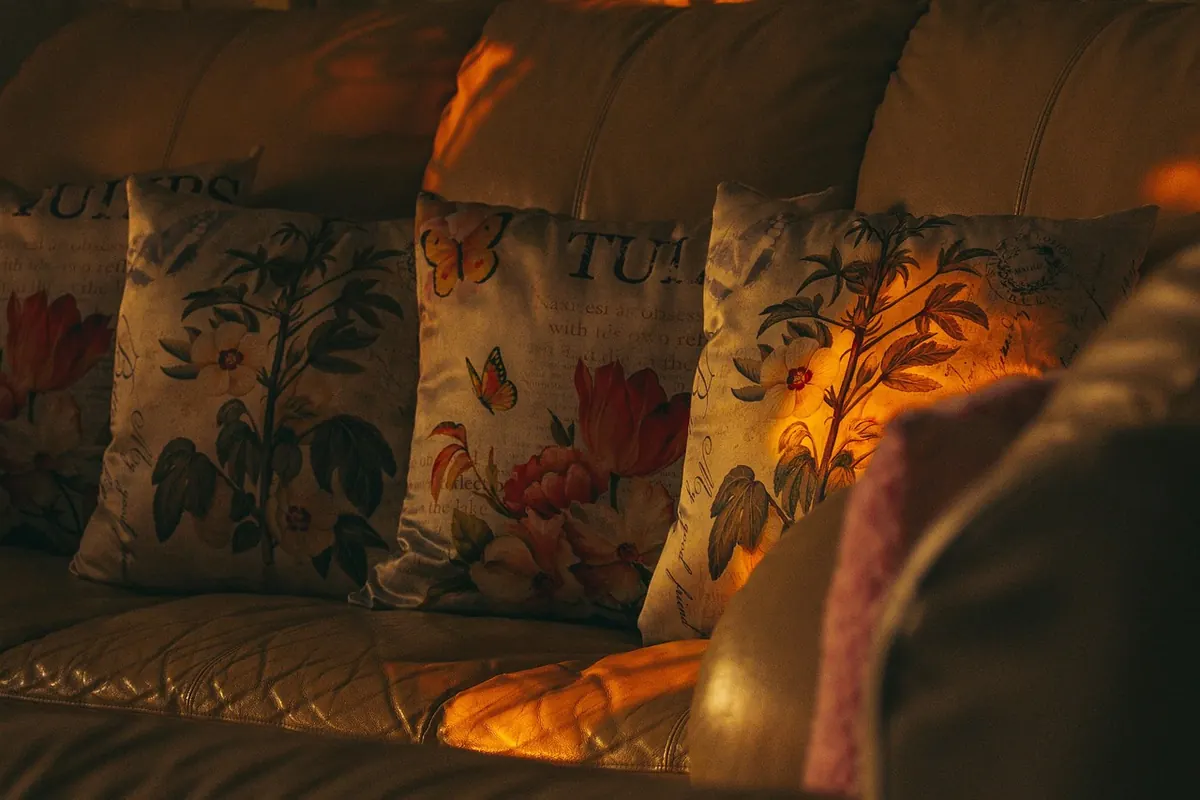
Then cushions. Mix sizes rather than buying four identical ones, and mix textures — a linen, a bouclé, something smoother. Odd numbers look more relaxed than neat pairs.
Bare walls are what make a rental feel temporary, and you do not need nails to change that.
Keep frames to a loose theme rather than rules. Metal, wood and black all sit happily together; everything mismatched does not.
Keep the packaging for adhesive strips, make a note of where each hook went, and remove everything slowly in the final week rather than the final hour. A little white vinegar or an alcohol wipe usually shifts any residue.
One last thing: check your tenancy agreement before you make changes, and ask the landlord if anything is unclear. Most removable fixes are exactly the sort of thing they will be pleased to see; a wall of damaged plaster is not. Done carefully, everything above travels with you to the next place — which is the real advantage of styling a rental this way.
Photo: Russell Butcher / Pexels